Our second blog on gelatin demonstrates how to use it to starling culinary effect.
Our previous blog covered how to use the most appropriate grades of gelatin in the right ratios, so now the tedious technical stuff is out of the way, here’s the bit: discovering just what an imaginative range of culinary techniques and recipes the clever use of gelatin puts at your disposal – from old favourites that can be given a range of exciting modern twists, to methods for creating some serious haute cuisine.
Amazing Marshmallow
Falling firmly in the first category mentioned above, marshmallow has been around for thousands of years; starting out as a medicinal mixture of pulped root from the mallow plant mixed with honey, perfected by the ancient Egyptians, a similar mixture called Pâte de Guimauve (made of egg-white, sugar, water and mallow root) was adapted by French confectioners in 19th century.
By the early 20th century the mallow root had been replaced by readily available gelatin, and marshmallows became an instant favourite available to the masses.
Marshmallows is the simplest type of a gelatin sponge, consisting of only sugar, water and gelatin. When making marshmallows you typically want an equal weight of water and sugar. The amount of gelatin used will be around 10% of the weight of the water, which equates to 5.5 sheets per 100 grams.
There’s so much more to do with marshmallow than drop it in hot chocolate or melt it on sticks, nevertheless the recipe for creating ii remains unchanged.
INGREDIENTS (For approx. 40 marshmallows)
• 21g gelatin (in mixing bowl)
• 120ml water/liquid (in mixing bowl with gelatin)
• 800g granulated sugar (in saucepan)
• 320g corn syrup
• 120ml water (in saucepan with granulated sugar and corn syrup)
• 3g salt
• 100g corn starch
• 100g icing sugar
METHOD
1. Prepare a 25x25cm baking pan by spraying with cooking spray, covering well and evenly
2. Stir the corn starch and icing sugar together. This is called the ’dredge mix’. Cover the pan well with the dredge mix using a small sifter
3. Soak the gelatin in the 120g water/liquid for 10 minutes in a stand-mixer bowl to let ‘bloom’
4. Boil the sugar, invert sugar syrup and 120g water till 120C
5. When the sugar syrup reaches 120C, start the mixer with the whisk attachment on low speed while pouring in the syrup quickly
6. Once all the syrup is poured in, immediately increase the speed up to medium for 1-2 minutes and then up to high adding in the salt
7. Add in any food colouring or flavourings or your choice
8. Whisk for 10-12 minutes till the marshmallow fluff is pale
9. Pour marshmallow fluff into prepared tray and using a spatula to spread it out lightly and evenly. If the fluff is too sticky, wet the spatula in hot water and use as normal
10. Leave to set for 3-4 hours, or ideally overnight. Note: do not put in fridge while setting.
Marshmallow needs cutting with a knife dipped in warm water to prevent sticking, and sides will needs dusting to prevent further stickiness.
To create truly remarkable marshmallow, just add imagination; we’ve seen pretty much everything from a traditional Persian-style orange blossom and pistachio, to candied bacon and maple syrup.
Fabulous Foams
Edible foams became something of a culinary cliché around a decade ago, really just because it was clever, caught on, and then got overused and became the trope for the whole ‘molecular food’ movement. It’s still a brilliant idea however, allowing chefs to integrate exciting new flavours into dishes without altering their essential composition.
Creating a culinary foam is easier than it looks, and unlike some other modernist techniques, the appropriate equipment won’t break the bank. There are two main implements that are used to make a foam. One of them is the common, handheld immersion blender. This particular tool is expert at whipping up lighter foams (froth) but less successful when it comes to preparing espuma of the Ferran Adrià variety. For denser foams, it is probably wise to invest in an espuma gun, which is designed for this very task, extruding foam much like a whipped cream can, by using canisters of Nitrous Oxide.
Gently heat cream, juice or even stock, infuse with any extra flavours you may require and leave to cool having added the appropriate amount of gelatin leaf for the volume of liquid. Leave to cool at room temperature then pass through a fine sieve and pour into the gas canister. Close the lid, charge a gas canister, shake well and dispense.
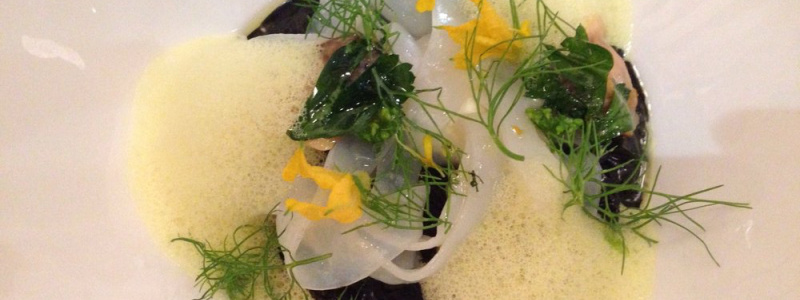
In this way virtually any puree, coulis, veloute, or even stock can be transformed into a densely foamed espuma. Fruit foams are not only great for garnishing deserts but also cocktails, and savoury espumas have enhanced main dishes with everything from parmesan to oyster foam.
Sweet Sheets
Even more recently than the edible foams, flavoured gel sheets have become another interesting feature of high-end gastronomy, that becoming ever more mainstream. That may well be thanks to the sheer versatility of gel sheets. hey can be cut into wide strips and used as a wrapper for sushi. You can cut them into squares and use them as a pseudo wonton wrapper. You can use round cookie cutters and make flavored "crepes" that hold either sweet or savory dishes. You can also just drape them over vegetables, fish or meat.
Most fruit juices are great for sweet sheets. Curries or herb infusions are wonderful for making gel sheets to go with savory dishes.
METHOD
For every 250ml of liquid use 2 gelatin sheets and 3g of agar.
1. Begin by placing sheet gelatin in a bowl of cold water to bloom.
2. While the gelatin is blooming place the liquid in a pan. Bring to a simmer, remove from the heat and let steep for 10 minutes.
3. Strain if necessary to create a clear liquid and return to the pot. Sprinkle in the agar and mix well with an immersion blender.
4. Bring to a simmer while stirring occasionally, allow to simmer for 3 to 5 minutes then remove from the heat.
5. Spoon some of the gel base onto a flat, plastic surface, tipping the surface until the gel evenly coats it.
6. Let the sheet set (this should only take a few minutes) and the gel sheet will be ready to use.